#091
I’ve been meaning to do a process post for a while, so here we go. This is how Dinosaur Kid gets made, and it’s worked more or less this way since sometime in June.
The first thing to do is write the strip and figure out what it will look like. I do it in these little boxes, which artists call thumbnails or thumbnail sketches. There’s a US penny for size comparison.
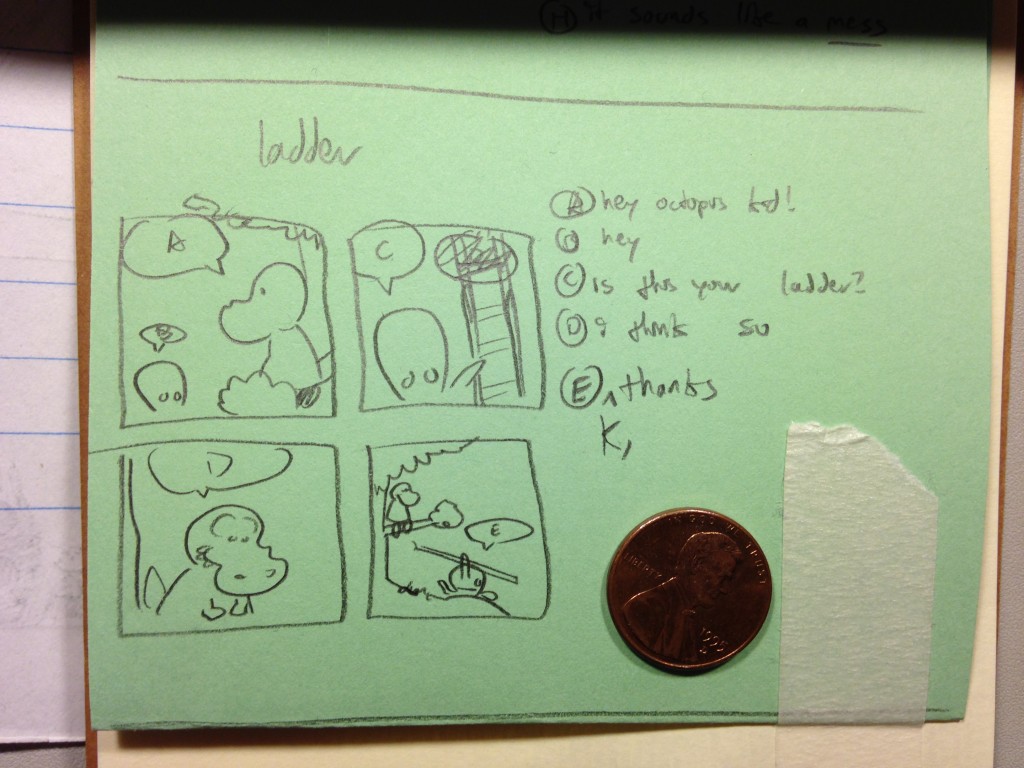
Not too much work, right? A simple comic idea could be done in 5 minutes, but sometimes it takes a lot longer to get the wording just right and figure out what’ll be in each panel.
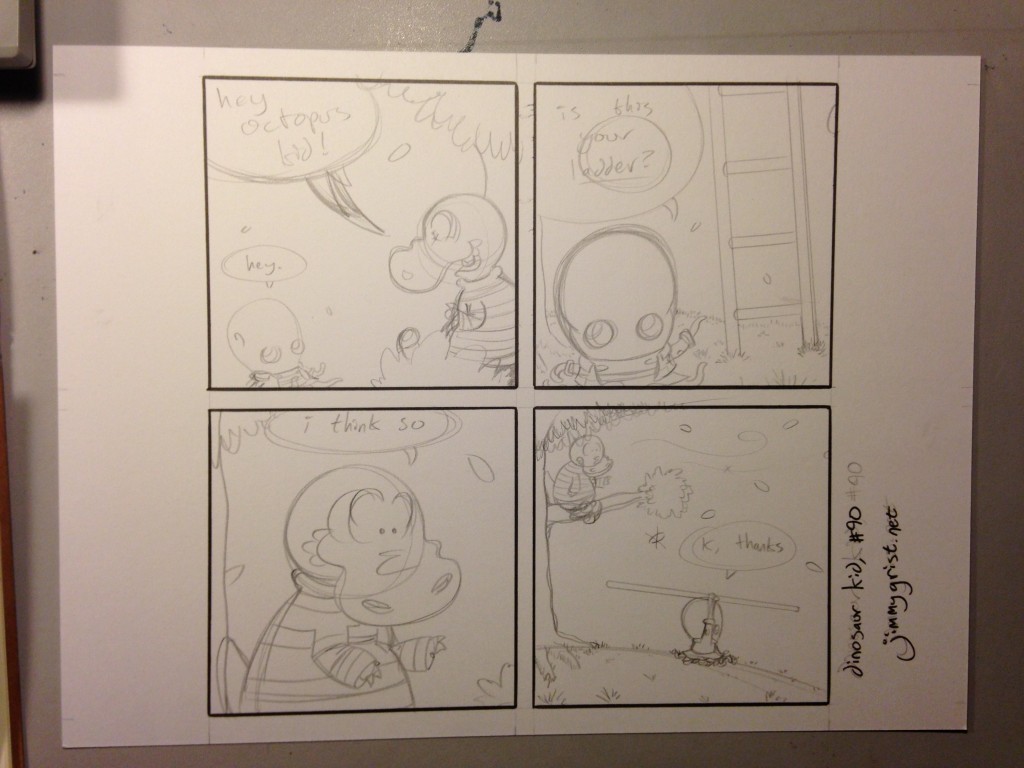
When the thumbnail’s done, I get to drawing. The very first thing I do is pencil the panels using a ruler and a piece of 9×12 mixed media paper, which is just a heavier Bristol board. I used to use watercolor paper, but that surface has a much rougher texture that makes coloring more difficult for me. Each panel measures 4×4 inches. I’ve thought about working bigger (because it would look better), but it would mean more expensive supplies, and more time/resources with the coloring. So this size works for right now. Once the panels are down, I pencil the drawings and letterbubs one at a time, in order.
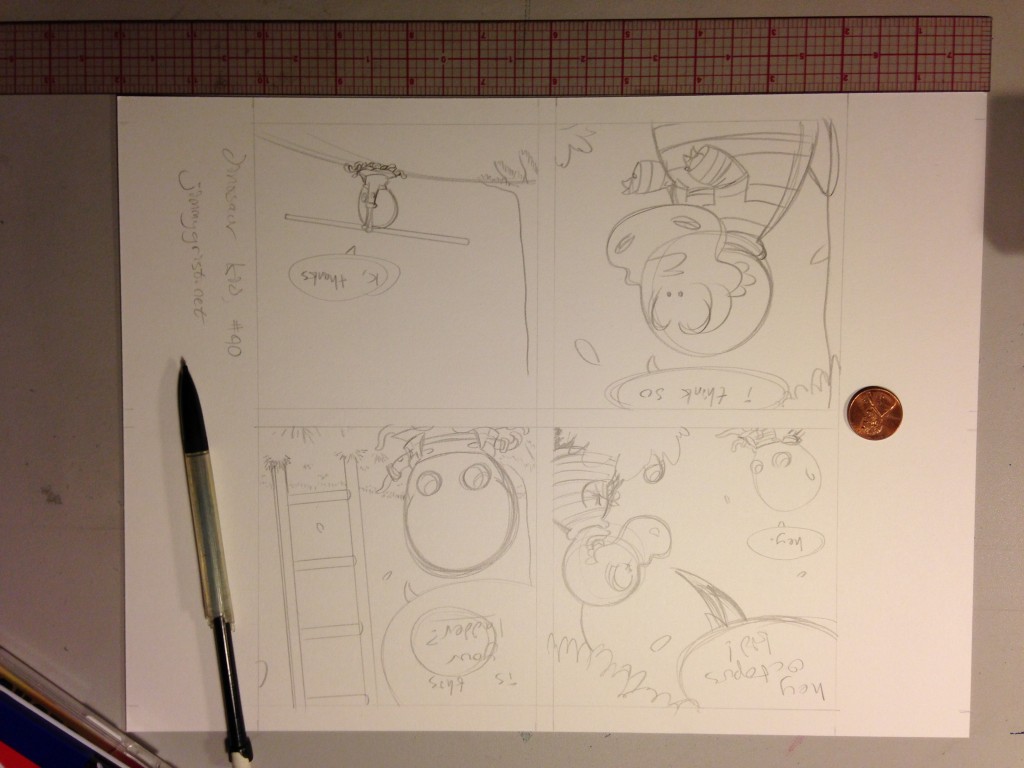
This picture’s upside-down because smartphone. Sorry! I always use that busted pencil. I found it in the bottom of my backpack after years of disuse, and I thought the bustedupness that had occurred made it really cool. Besides that, it’s just a plain plastic mechanical one, with 0.7 lead. I pencil just about everything I plan on inking. Some really talented cartoonists only do rough pencils for blocking it out and take their chances with the permanence of ink, but I’m not that confident. I make regular mistakes.
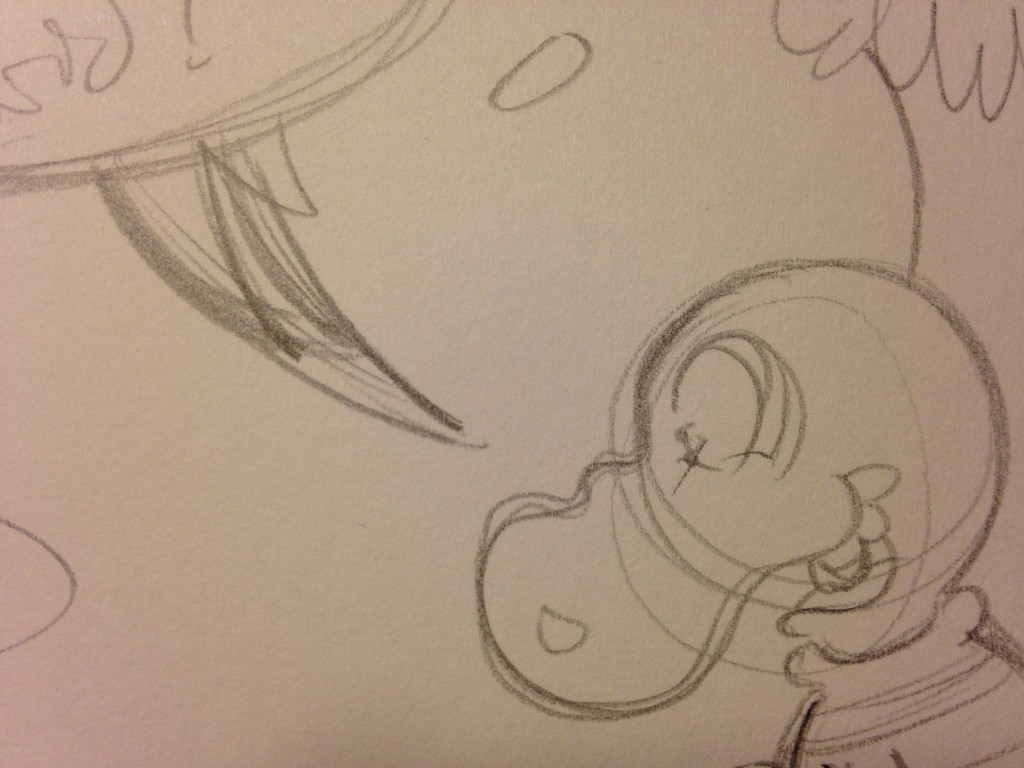
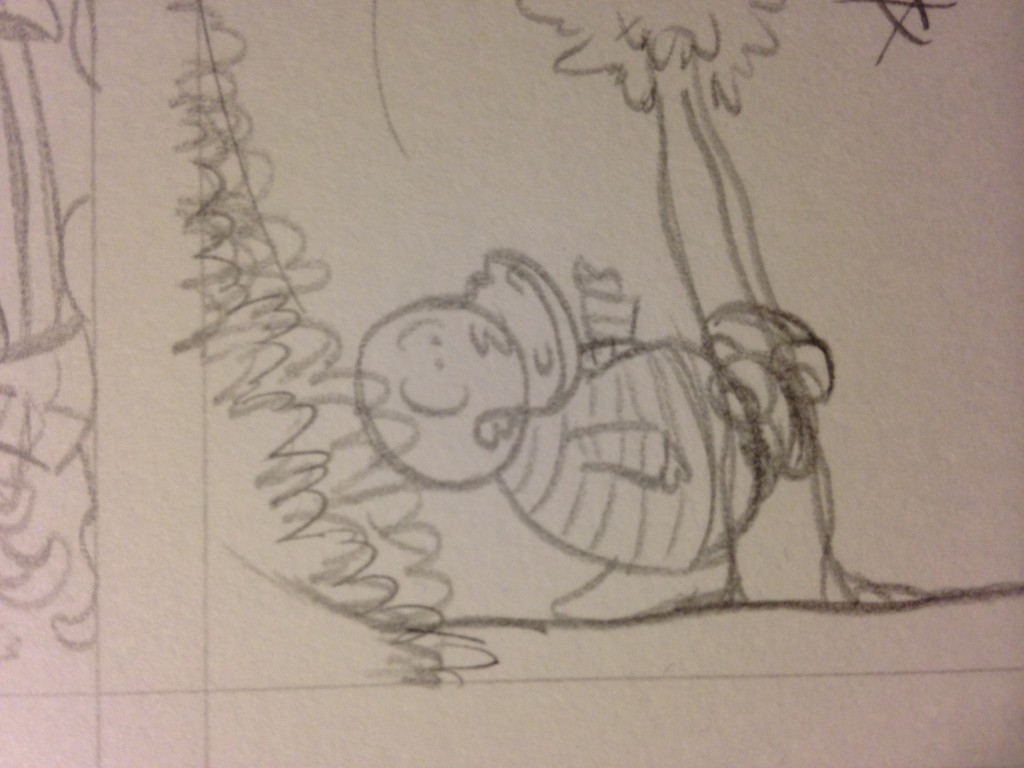
Depending on the complexity of what I’m drawing, all that penciling usually takes around one hour (or as I like to measure time, one Star Trek plus one 30 Rock). When the penciling’s done, if I have time, I like to go straight into inking. That way the memory of the lines is still fresh in my hand, and it’s easier to go back over them. I do the panels first.
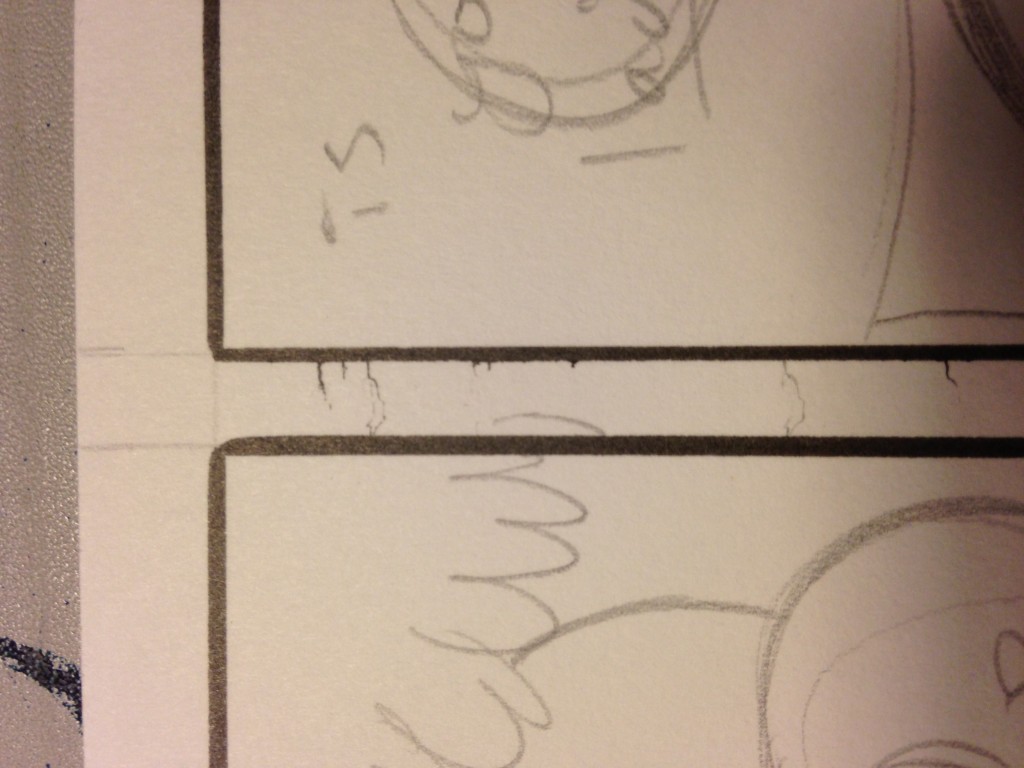
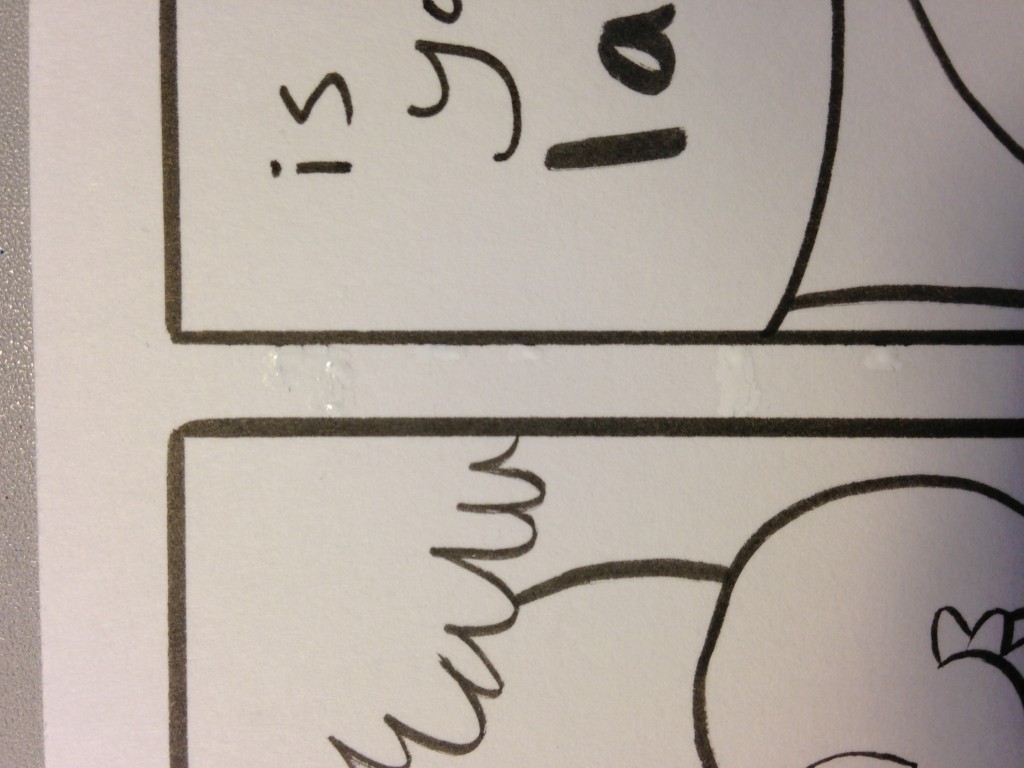
Though if I have my ruler face-down instead of face-up, it does this weird ink-drag thing. Oops.
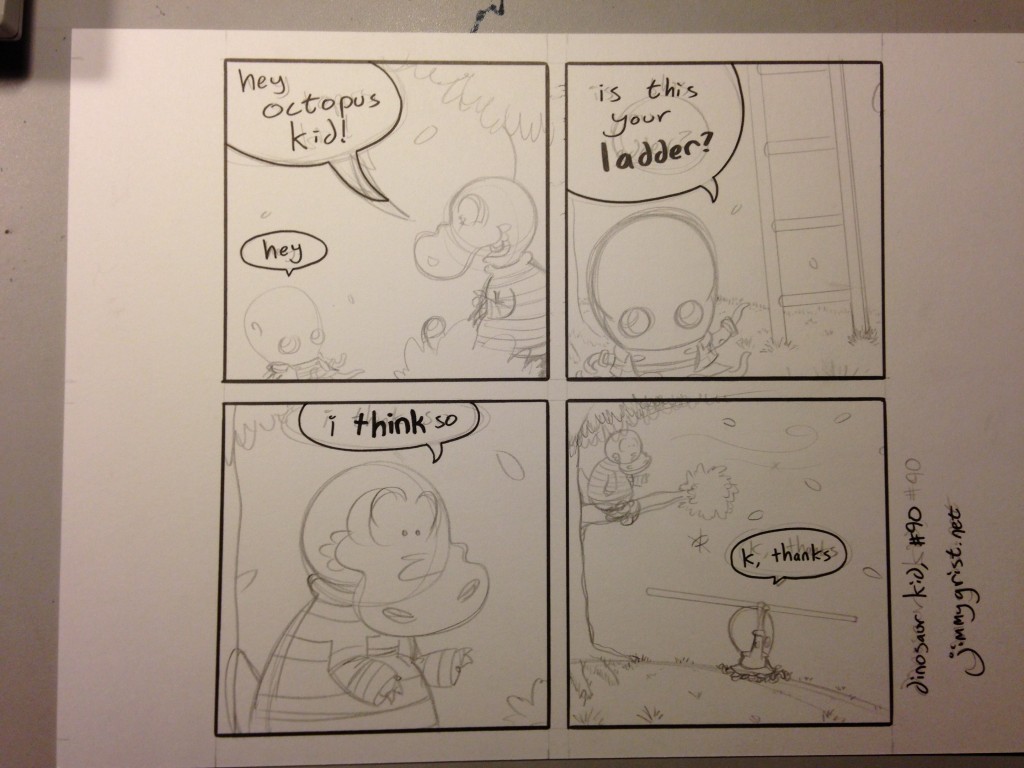
The speech bubbles and text come next. I try to use a firm pen for these so the lines have a uniform width. I think I just like getting this stuff out of the way so I know what space I have to work with for the drawing. But it’s already starting to look official, or somethin’!
So everything you’ve seen so far is done with these tools. Not pictured is a .005 pen for reeeally small details, like the grass in the distance or the lines in DK’s shoes.
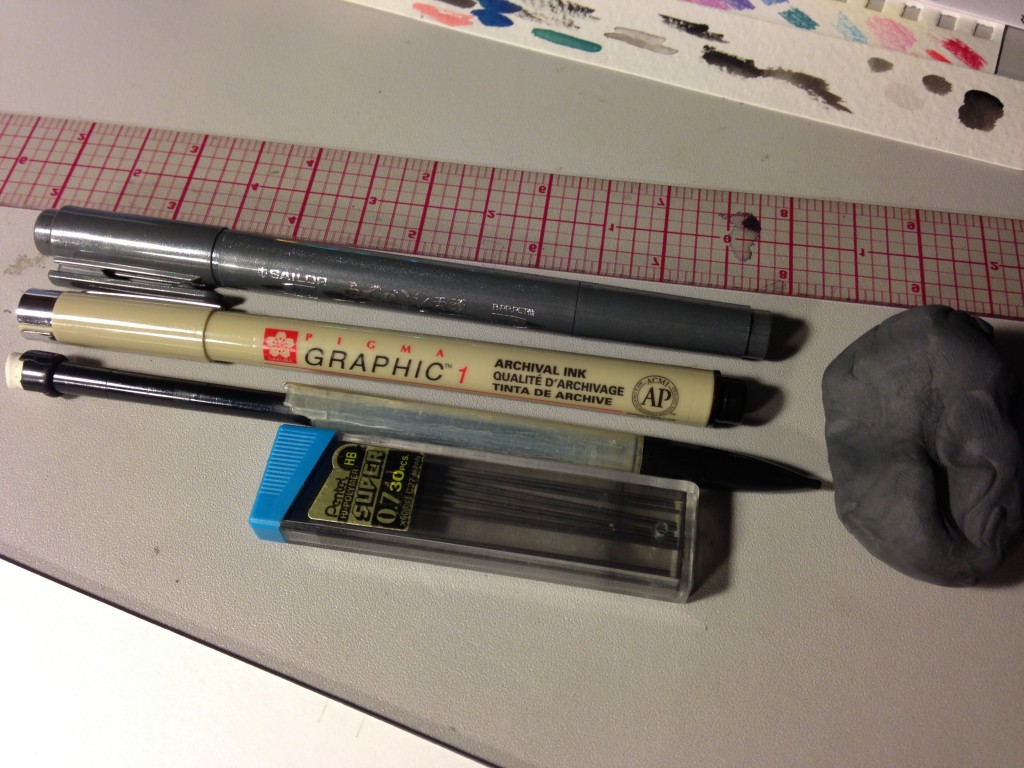
The inking usually takes about as long as the penciling — maybe longer, because I have to be more careful. Most of the inking happens with the gray pen (above). It’s a brush pen with a different-sized tip on each end. The tips are soft and flexible, so with some practice, you can make thick lines, thin lines, or lines that go from thick to thin. It makes things look more organic, I think. Uniform width is really more of an animation trait to me.
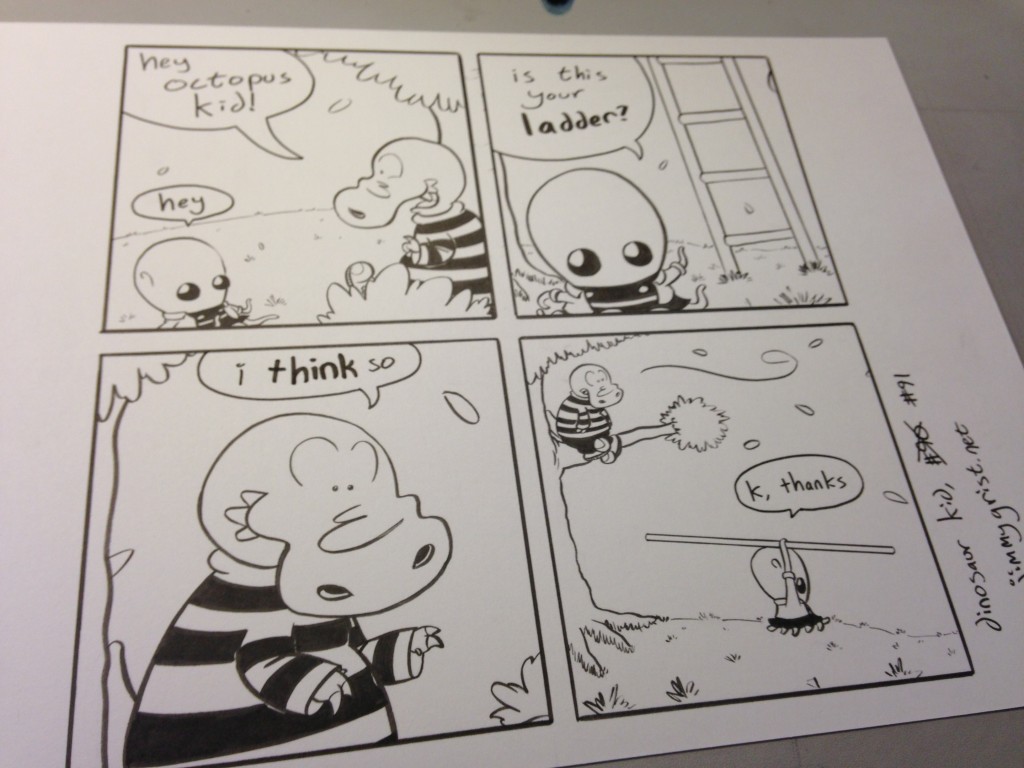
You’ll notice I fill in the blacks with this pen, too (or for lots of black, a marker). There isn’t really a reason for this — just something I did back when the comic was only black-and-white. If you want to start using brush pens, I recommend just buying a handful of different types and trying them all out. I spent about $30 on a real grab bag and just lucked out that my favorite one was also pretty water resistant. The last step of inking is fixing any mistakes, and for this, I just have a white gel pen. Here’s where I covered up those odd ink-drags I mentioned earlier.
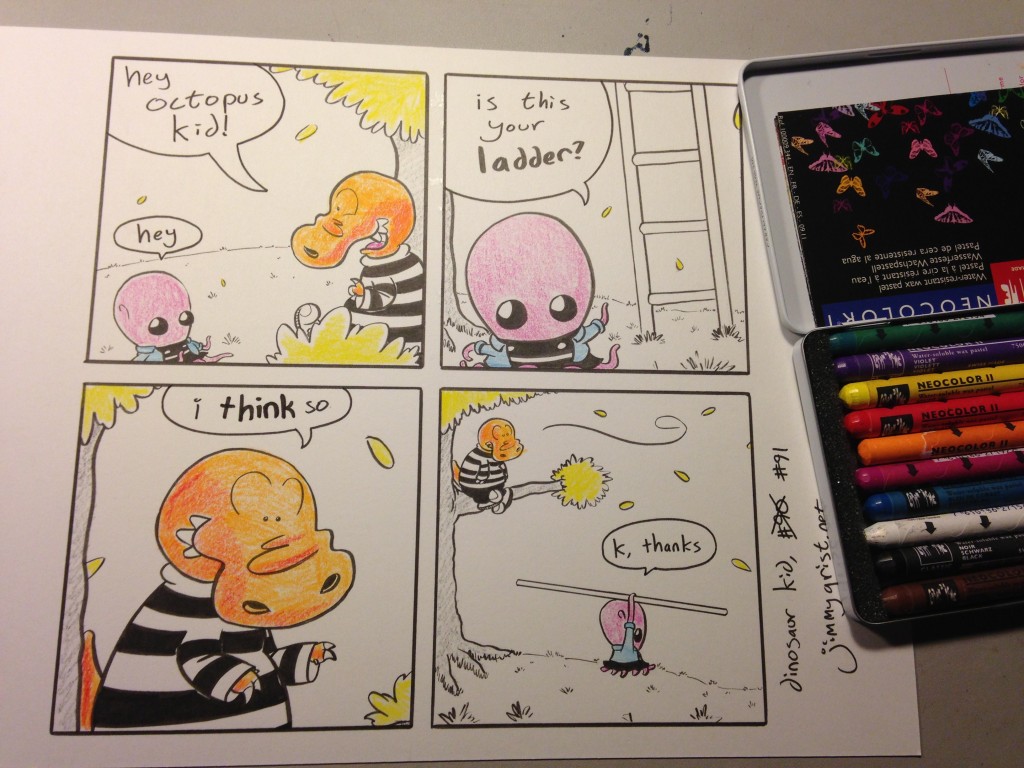
So I usually do the pencils/inks in one 2ish hour sitting, then come back the next day to add color in a second sitting. This gives the ink some time to dry, becoming more water resistant. If everything goes right, the whole comic takes about 4 hours. (Everything does not always go right.) When I color, I start by laying down the crayons. See, I’m used to getting some but not all of my colors through water-soluble crayons. I used to use these exclusively, but now I also use sticky watercolor paints and water soluble pencils. So like I said, the first step is laying down the dry stuff.
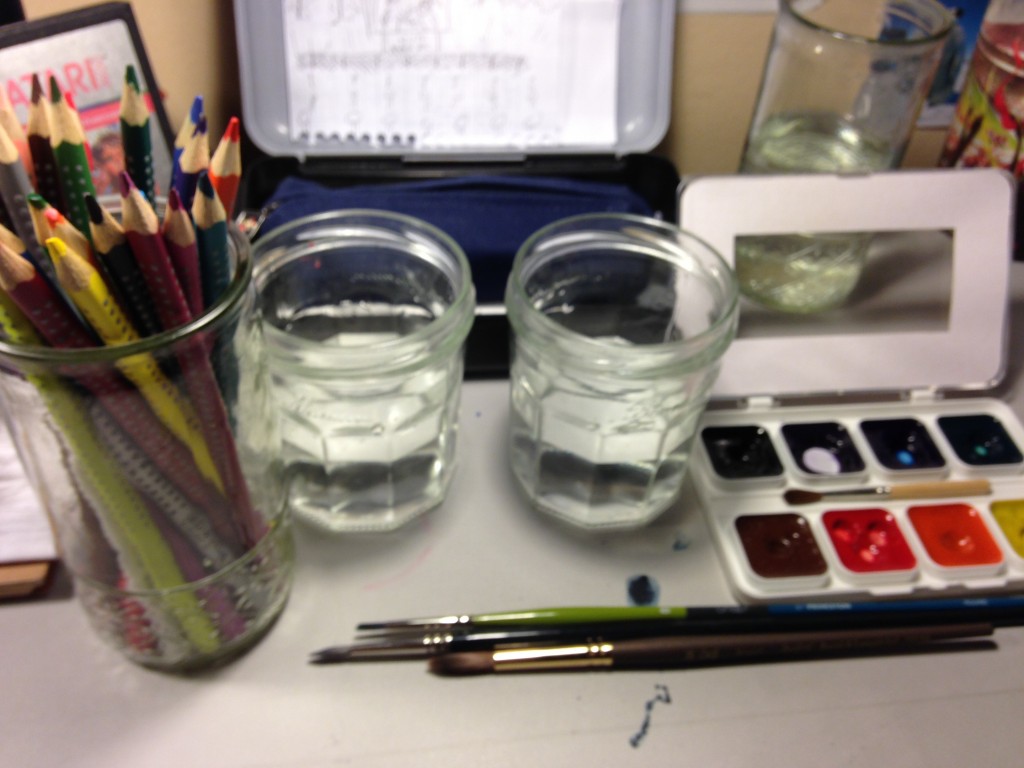
I get two cups — one for rinsing the brushes (left) and one for clean water. You can see my three brushes here. The green and blue one is the smallest, and does most of the work. The stumpy one is super fancy — like, $12 — and I use it for big, uninterrupted sections, like DK’s face in panel 3. The material holds a lot of water, so I’d like to get some more smaller brushes made of the same stuff. To the right of the cups, you can see the sticky paints I mentioned. It’s just some watercolors junior starter kit, but I’m gettin’ my money’s worth out of it.
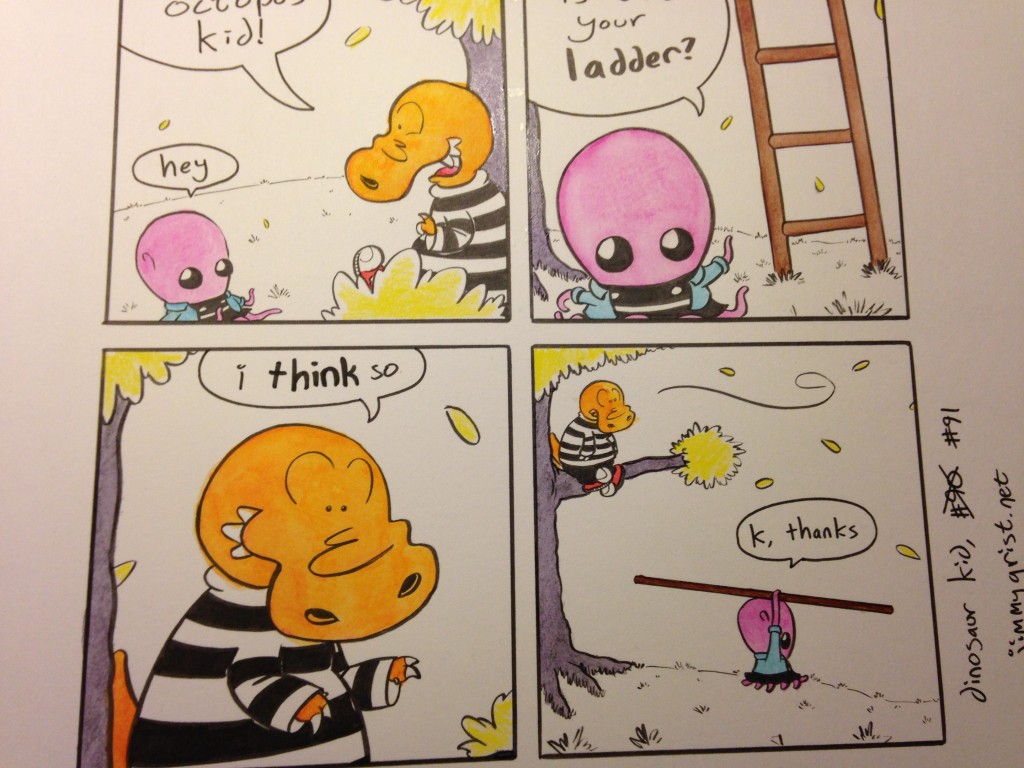
I paint all over the place in a weird fashion. See, you have to leave a section alone while it dries. If I paint up against a wet spot, I’m likely to bleed the colors together in an unflattering way. So I do all the pink, then all the orange, then all the whatever — as long as it’s separated. I go over some of the dry stuff with just plain water. Other times, I go over it with a paint to mix the colors on purpose. See the yellow leaves below? That’s a bed for me to go over with green paint, making yellow-green.
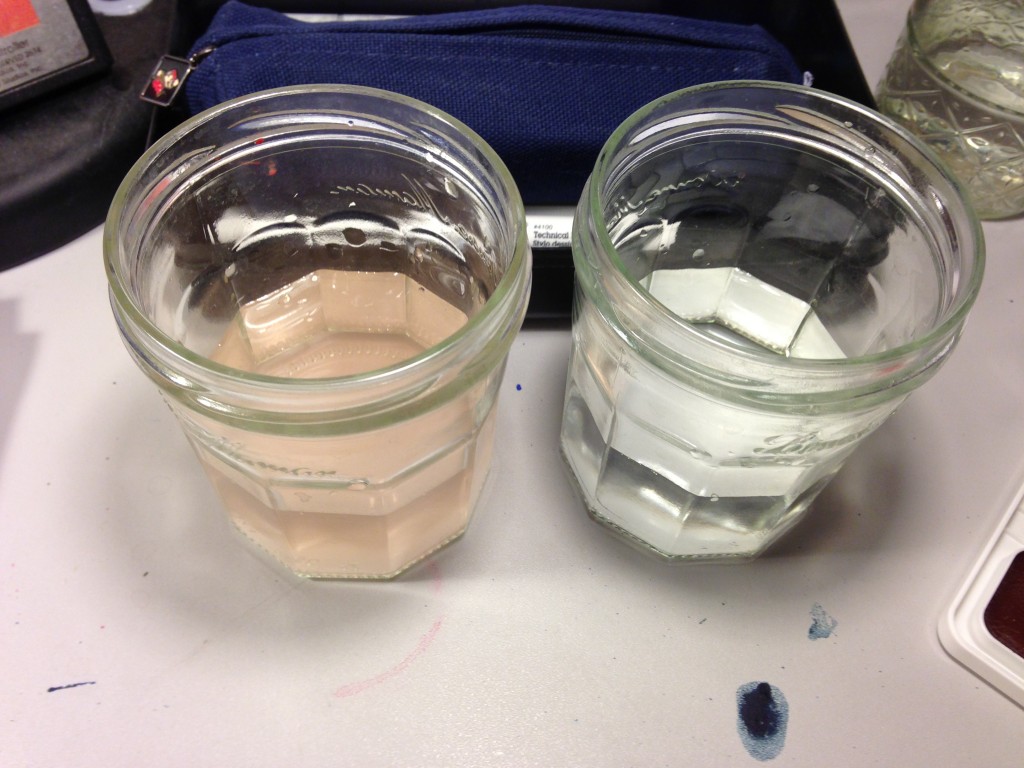
The rinsin’ water starts getting kinda funky-dunx. Actually, that’s not bad in this picture. It gets a lot worse. Sometimes, it gets fluorescent blurplepink and looks like some kind of mana potion.
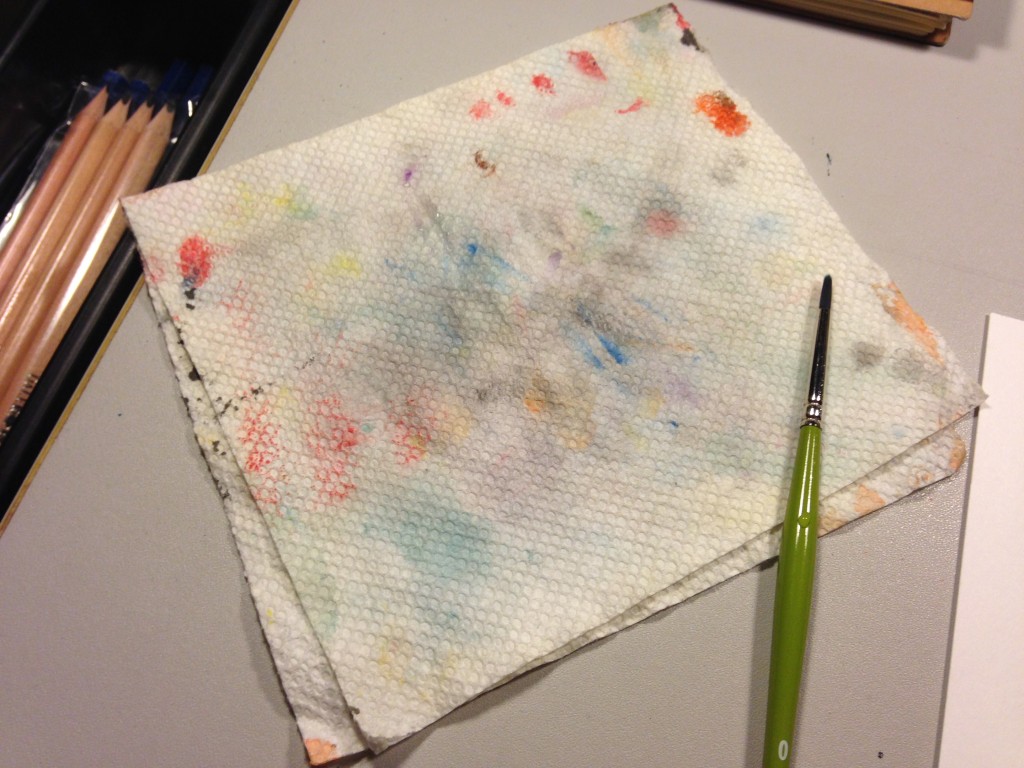
This is my paper towel. It’s a half-sheet, folded in half. I use it to slurp up excess water from the paper or the brushes. I have been using this single sheet for something like 6 months. It is easily the most mystifying element of the process.
The last thing I do is get into those sticky paints I mentioned. They’re everything that hasn’t been done already, and man, it takes a lot of practice to get consistent coloration with these things.
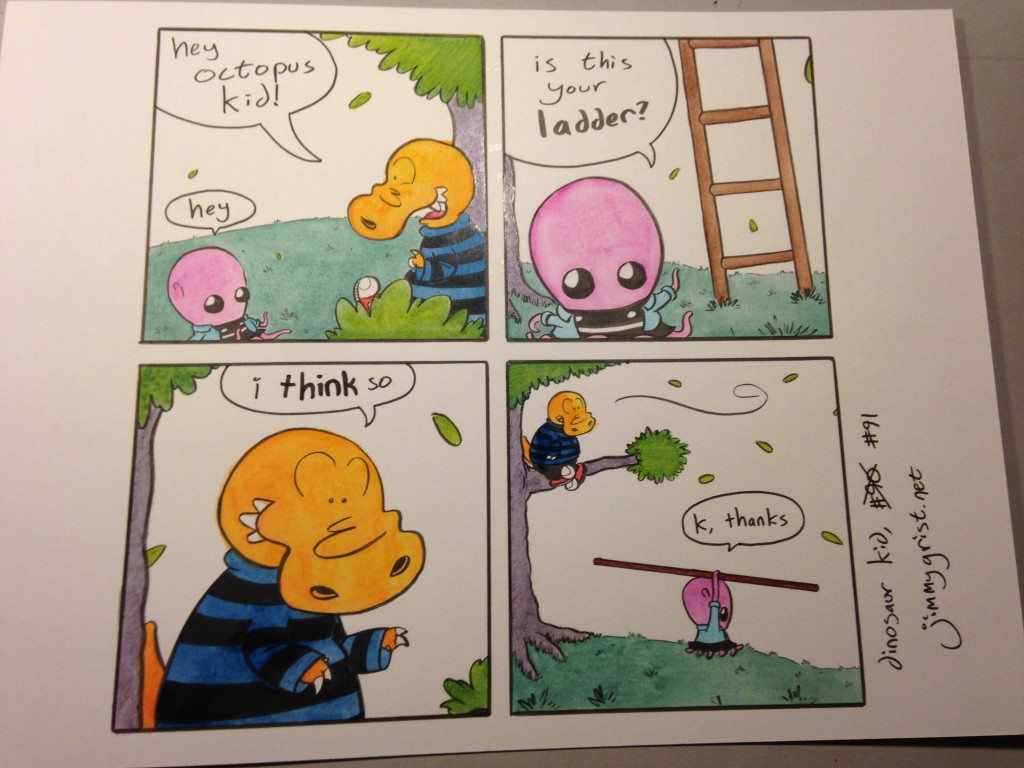
Then you have your finished comic. It absolutely looks better in real life than it does on the computer, which is my fault. The scanner picks up on and exaggerates a lot of subtleties, sometimes making ugly strokes that stay pretty well hidden in person.
My regular schedule is working at night, usually somewhere between 10 and 2. If I’m getting a head start, I’ll work in the mornings on a Tuesday, Thursday, or Saturday. Whenever I’m workin’, I’m either listening to some really cool music that isn’t ever embarrassing, no way, why would you think that?, or listening to Netflix as if I’m streaming radio plays or something. I guess I look over at the TV every once in a while, but I try not to watch anything that’ll be too distracting. Some Star Trek, or some stand-up, or horror movies. Yes — frequently, the adorable Dinosaur Kid is drawn alongside a creature feature.
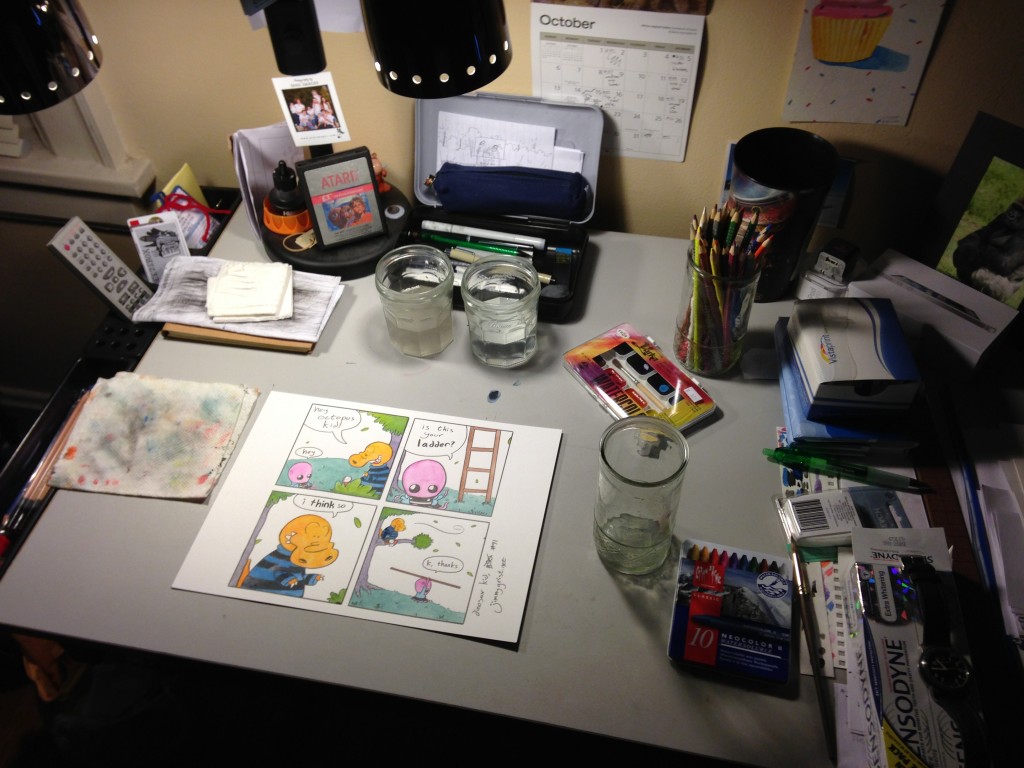
I won’t include the really boring parts about computers, scanning the drawing in halves, putting it together, and adjusting the colors. Or about posting it to the website, which usually only takes a few minutes (but this time took an hour). If it were possible, I would let everyone just read the finished work in person where it looks the best.
Anyway, I hope you’ve enjoyed the process post. I’ve read a lot of these myself on other webcomics, and every single one shaped my own process in some way.

Wow! I never knew how much work goes into one Dinosaur Kid comic… Really cool look into the process. Love the busted pencil and subtle subliminal influence of Star Trek.
Glad you liked it. I know I make it sound like a lot of work, but if a third party observed the process, their report would probably just say, “Jimmy slumped at his desk and mumblesung Ke$ha songs for two hours while he colored pictures.”